

We wouldn’t hold it against you if the prospect of having to install wireless security cameras induces a sigh and an eye roll.
It’s hardly anyone’s idea of a fun Saturday afternoon. However, wireless security cameras are quite simple to set up and don’t require as much time or effort as you might imagine.
Although different models will require slightly different setups, installation is quite similar between home security cameras. Read on to find out how to install your wireless camera system in just 8 easy steps.
Step 1: Install the home security app and create an account
Before you start doing anything else, you’ll need to install the camera’s corresponding app on a compatible device. If you aren’t mounting your wireless security camera to a wall, setting up the app will be the longest part of the process.
For most devices, you’ll be able to download the camera’s app via the App Store or Google Play Store. You’ll usually be required to create an account, which can be done with an existing email address or other user account.
You will then be prompted to agree to the terms and conditions and given the choice to opt in and out of data sharing. Always read through any data sharing practices before you agree to them. Learn more about this and other hacking prevention methods.
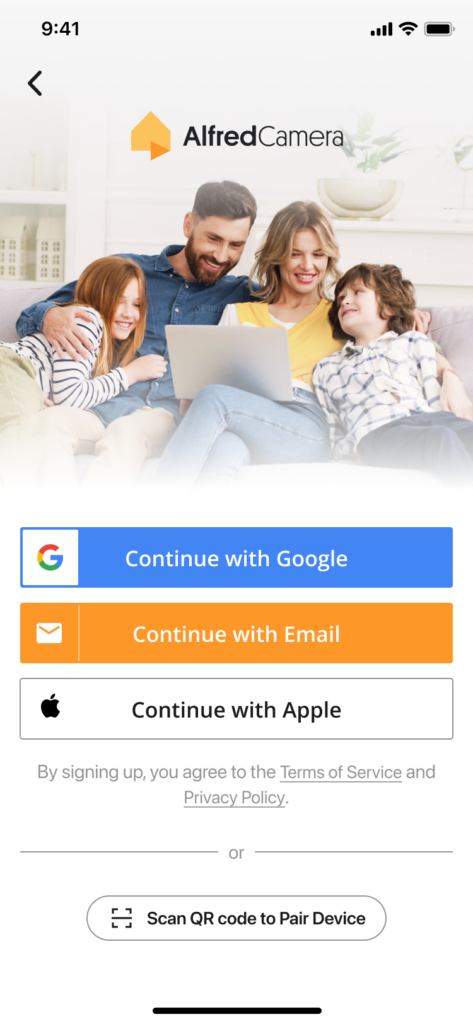
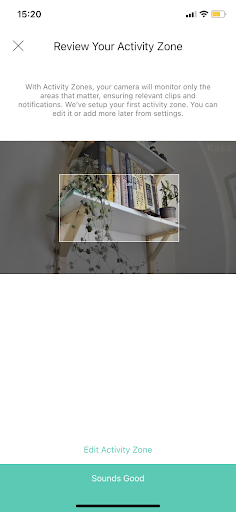
Check out the AlfredCamera app. We offer a powerful and affordable home security solution. It’s easy to install, and you only need a spare phone to use it.
Step 2: Plug in your wireless security camera
Wireless security cameras most commonly use USB-C cables for power. Plug the camera into an appropriate slot and wait for the status LED to appear. Don’t worry about plugging it into its long-term position for now.
The status LED will usually shine either red, green, blue, or orange. If it doesn’t show up, you may have a faulty product. In this case, we’d recommend going through the provider’s troubleshooting tips, which you’ll find either in the app or on their website. If this fails to resolve the issue, contact customer support to report a faulty product.
Step 3: Sync the wifi security camera to the app
In the main menu of the app, you’ll find an obvious prompt to add a new camera. It may be a plus sign in the corner or something along the lines of ‘Add Camera’ or ‘Add New Device’.
With the camera powered on, begin the process of syncing the wireless camera to your account on the app. There are a couple of ways this can happen. One of the fastest (which AlfredCam uses) is a QR code being shown on the viewing device, which you are prompted to hold in front of the security camera.
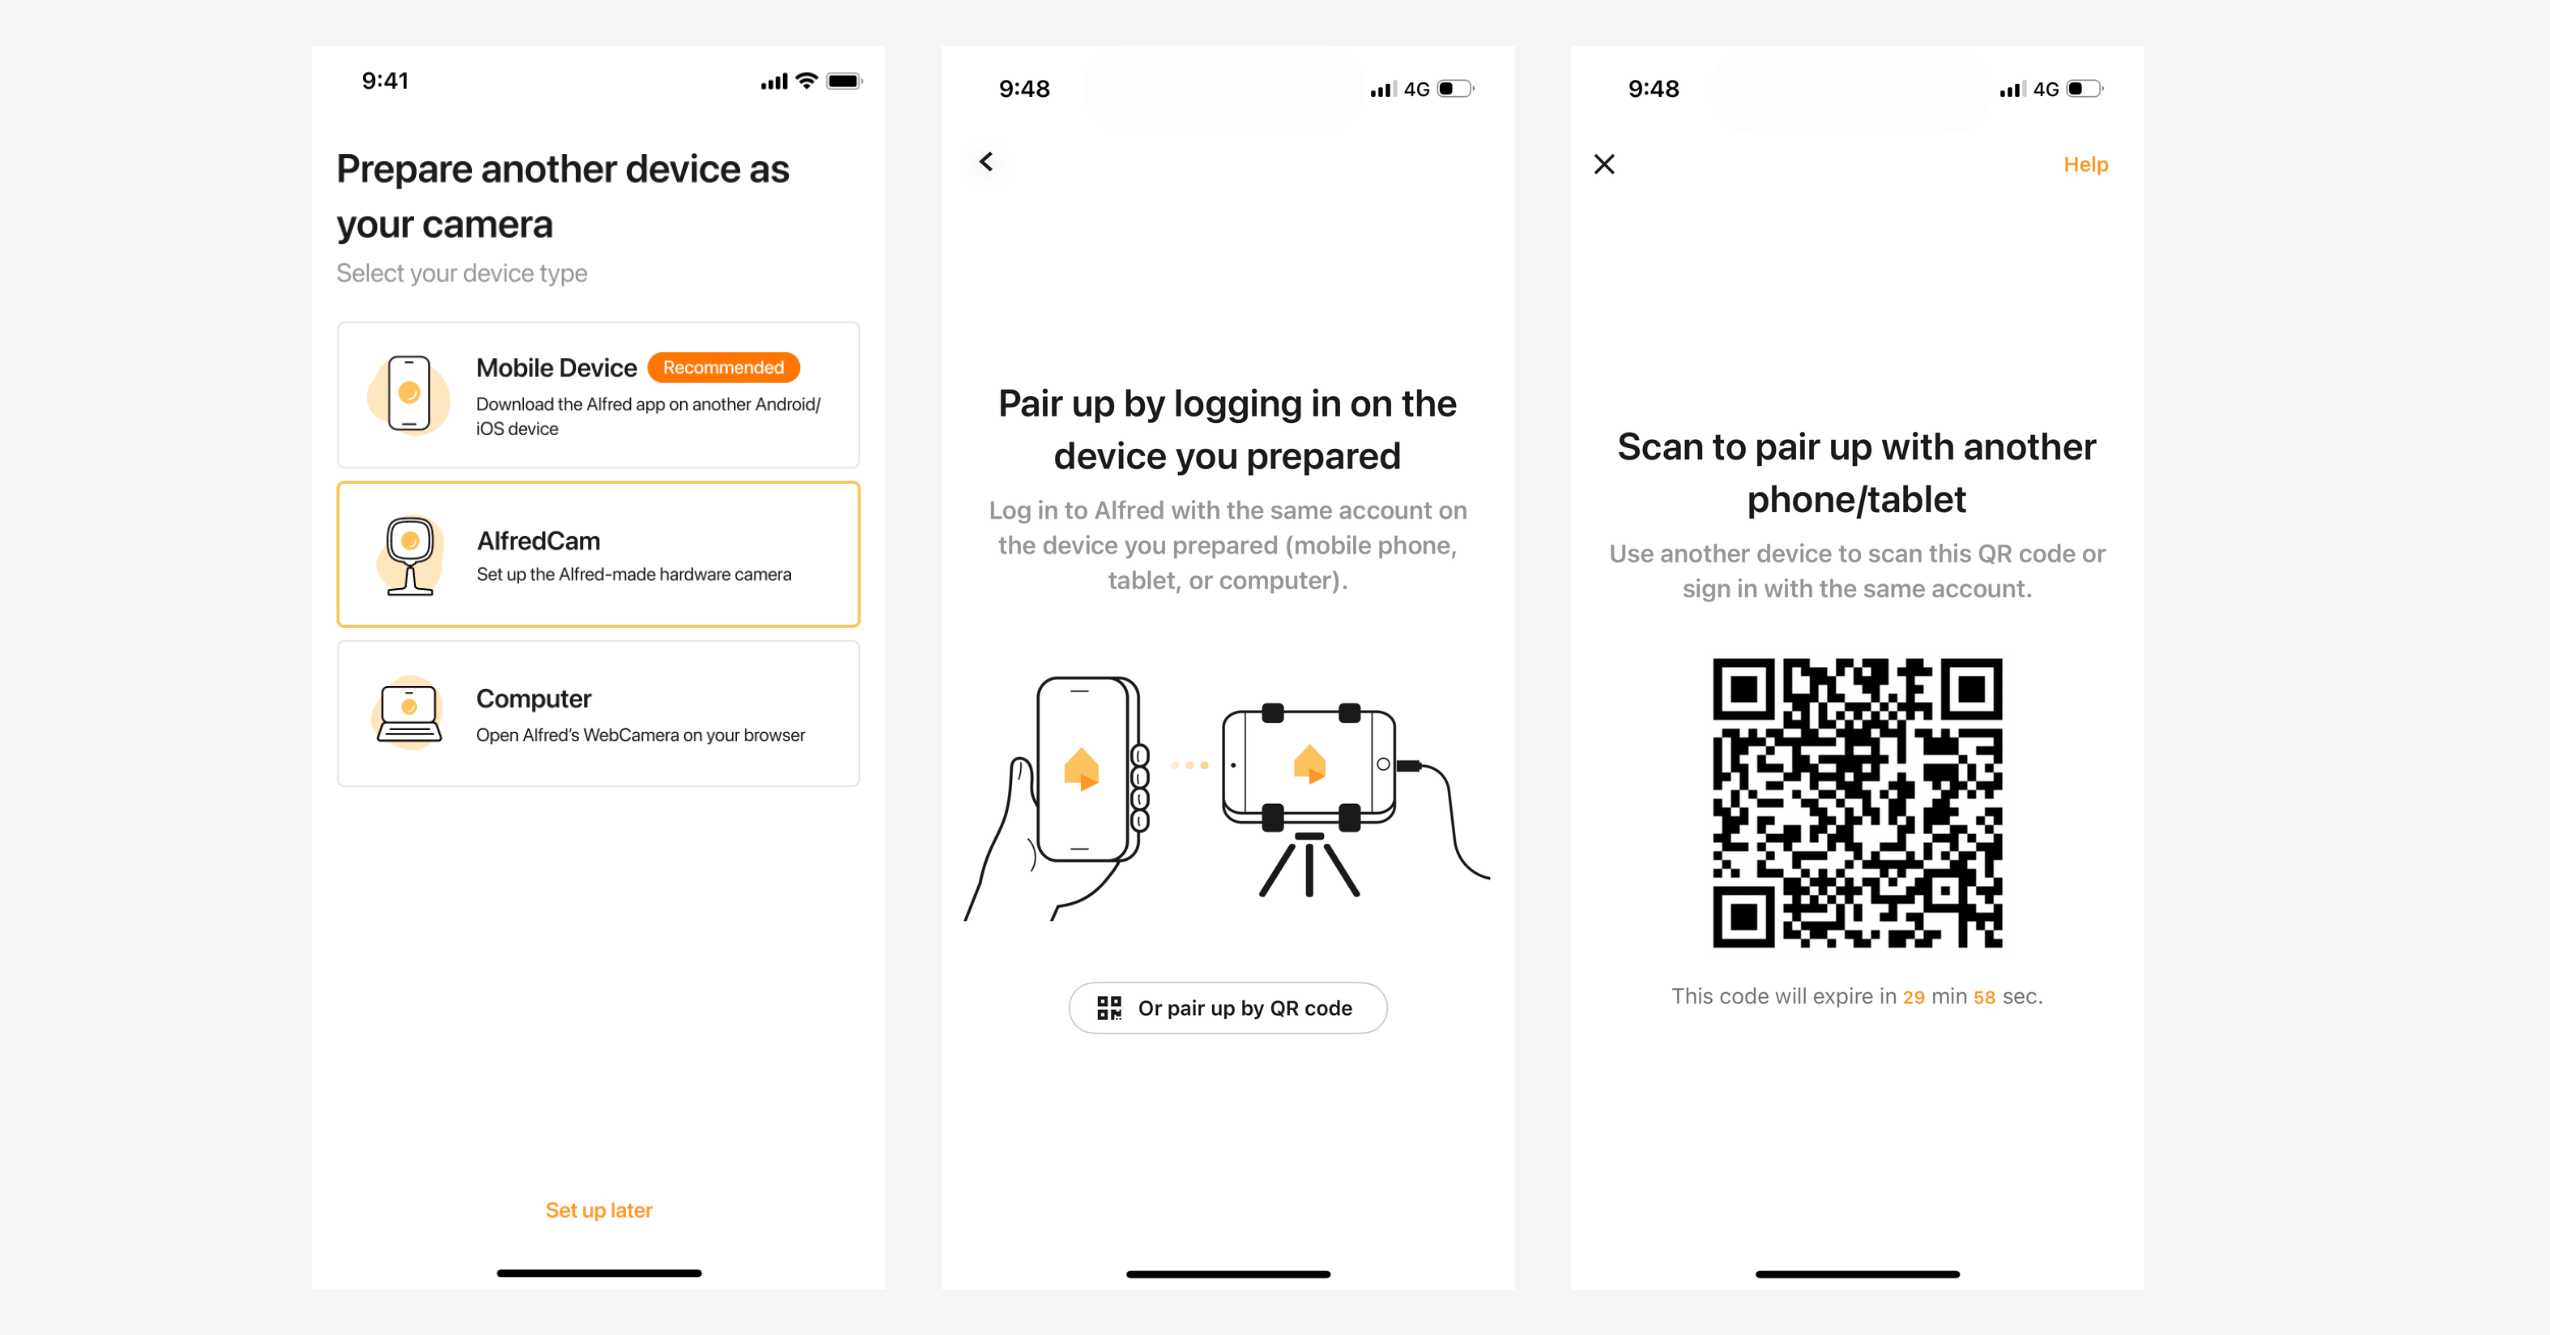
The camera scans it, and the devices are paired. Other devices may require you to select the camera from the Wi-Fi settings in your viewing device and connect to it as if it were a wireless hub.
Make sure that the devices being paired are no more than a couple of meters from one another, and that the Wi-Fi signal is adequate.
Step 4: Pick a location to install your wireless security camera
Once the camera is successfully paired, it’s time to pick out a location for your new home security camera. If you’re stumped for ideas, you can check out our article on choosing the best location for your security camera, where we point out the do’s and don’ts of installations.
Recommended reading: What Causes False Alarms on Home Security Systems?
Once you’ve found a place that maximizes visibility (aim for above 7 feet high) and avoids direct sunlight, you’ll need to give the wireless camera a test run before committing to the space (especially if you intend to mount it with a drill). You can always adjust as necessary.
If the camera is positioned too far from the Wi-Fi router, you may experience too many signal dropouts on the livestream, in which case you’ll need to move your security camera closer to the hub. Ideally, keep it on the same floor level as the Wi-Fi router and have it no more than a few meters away. Wireless cameras don’t require hardwiring.
You could also choose to buy a Wi-Fi extender to increase the range if you don’t want to sacrifice the location you have in mind. The camera will need to be near an appropriate power outlet, so make sure the cable you have is long enough to reach.
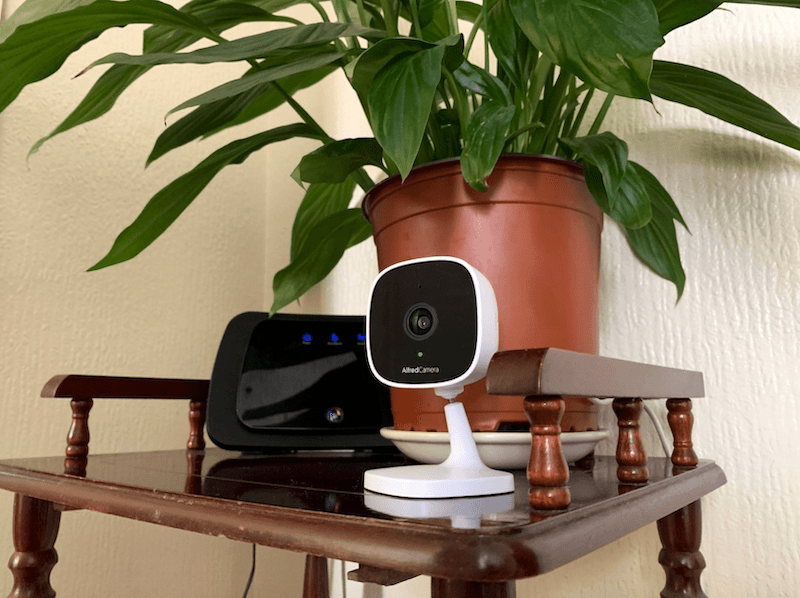
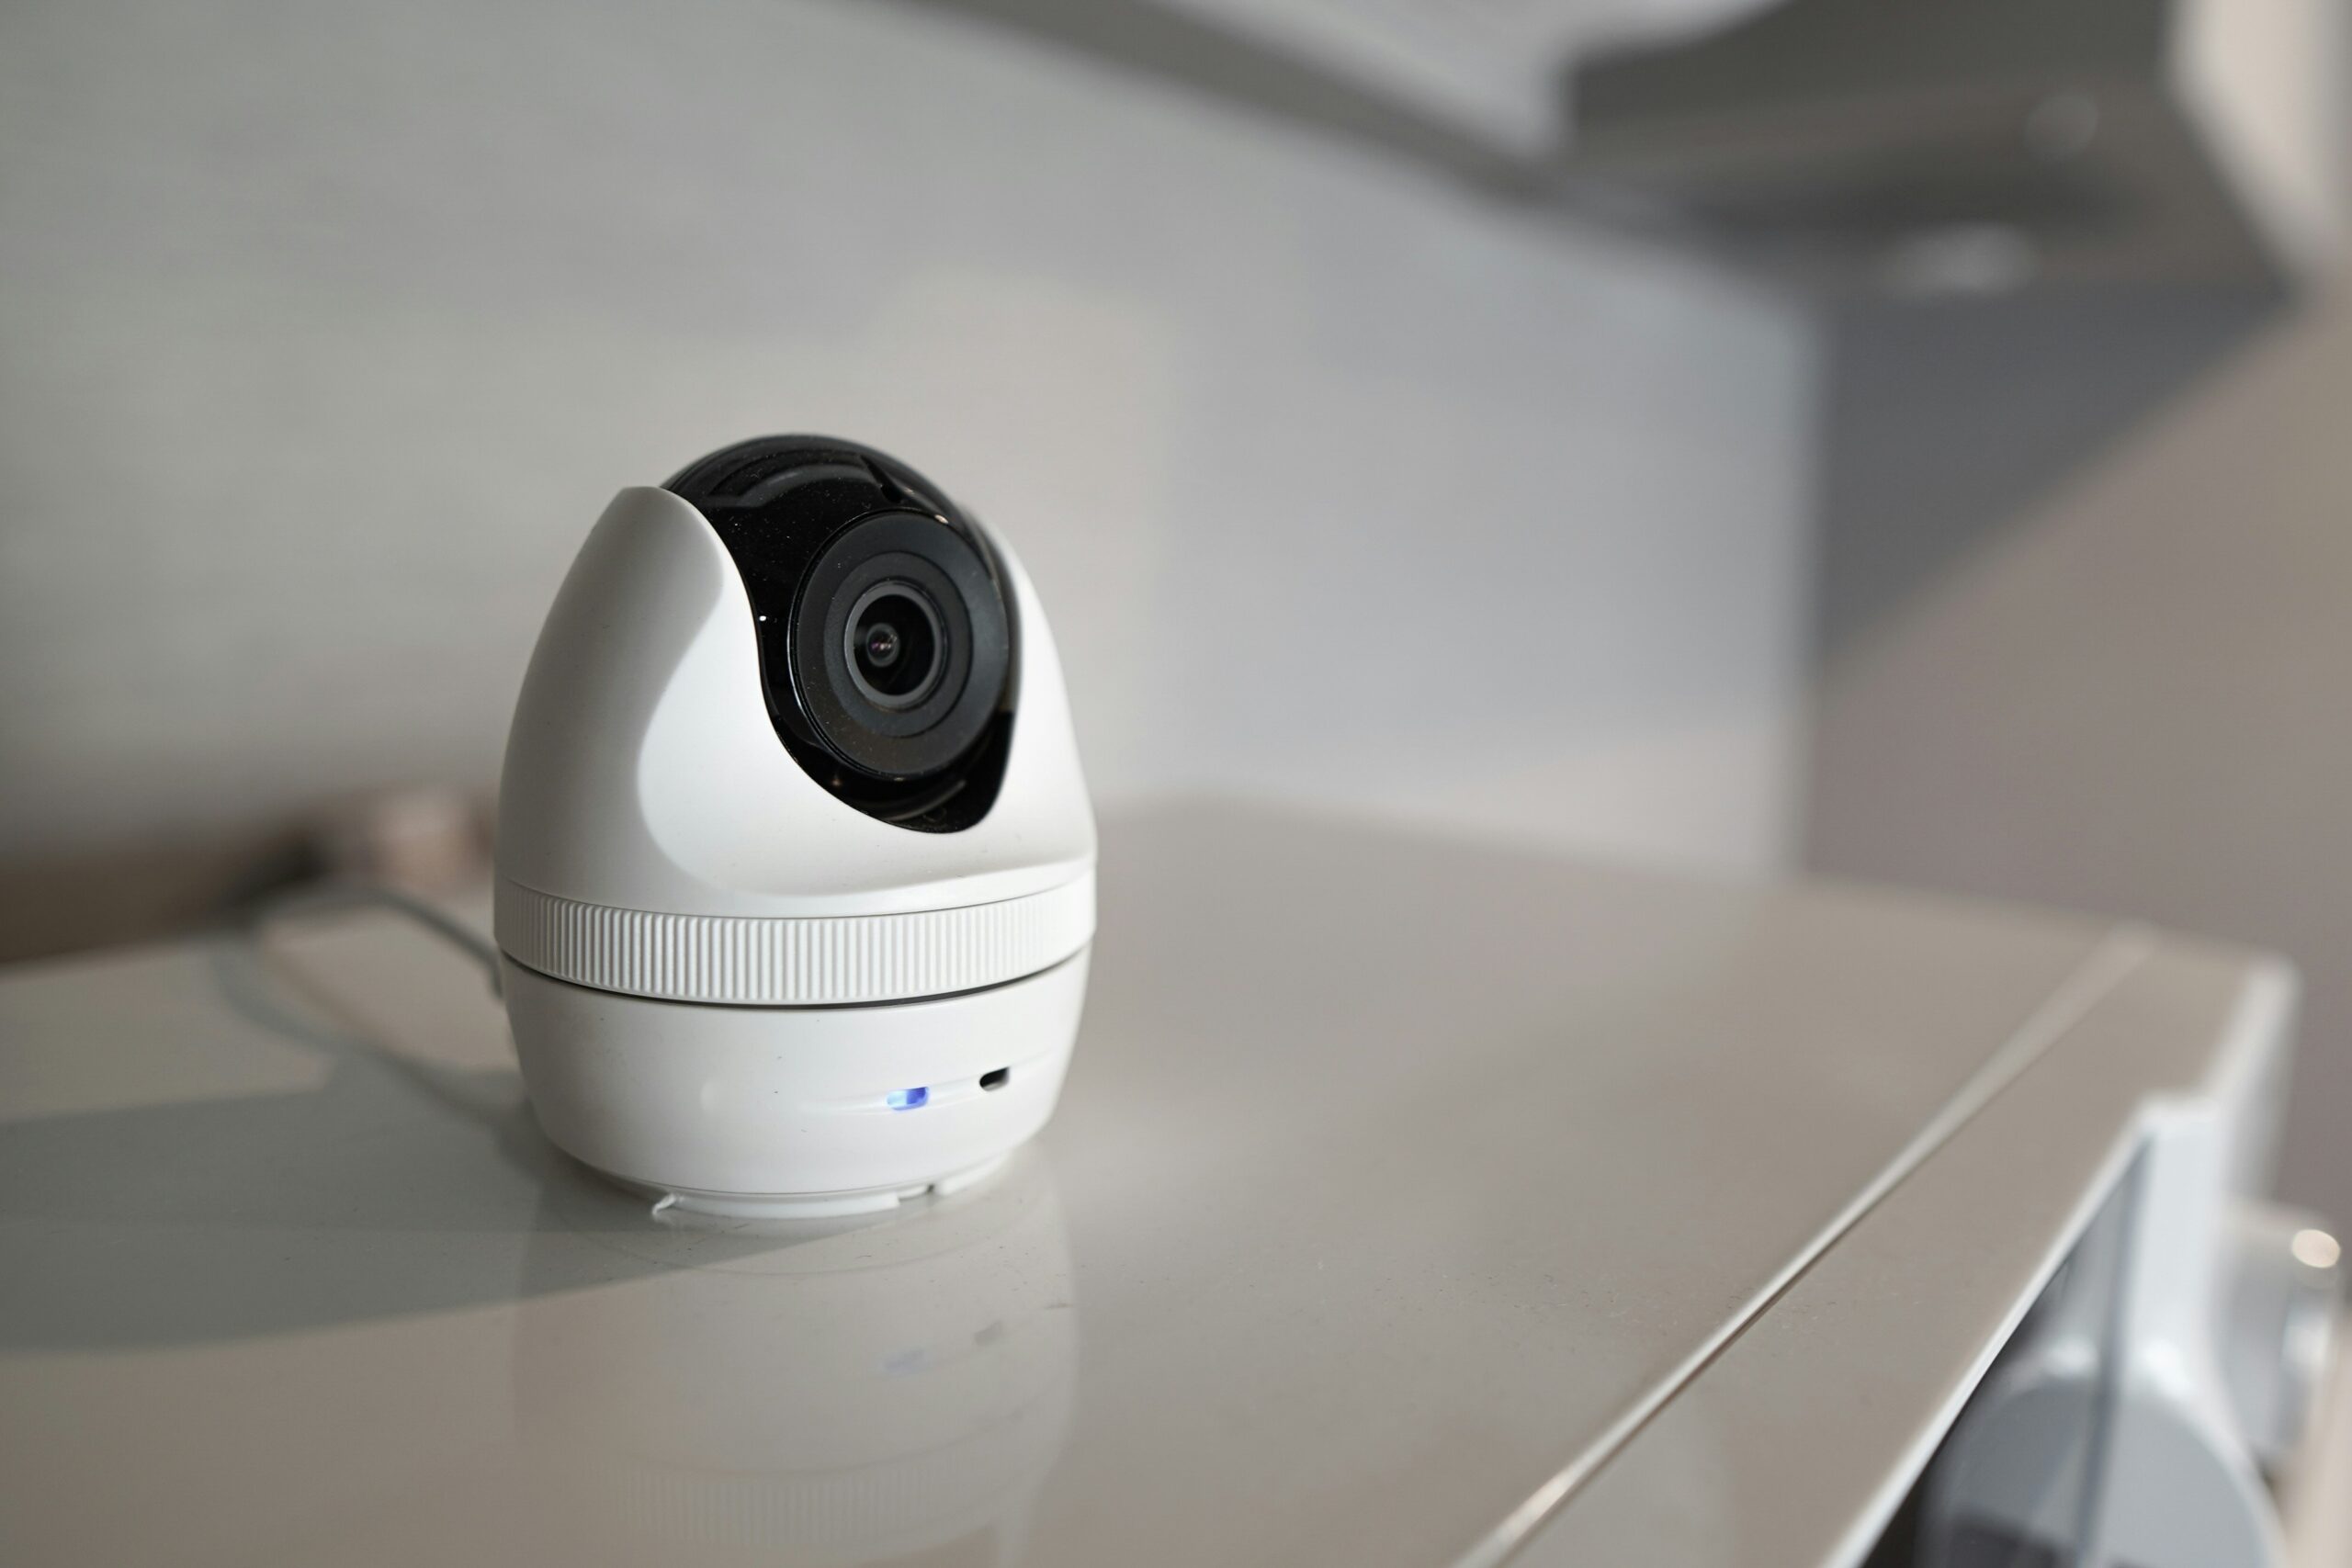
a Wi-Fi router. The status LED indicates the camera is on and working.
Step 5: Mark holes for mounting wireless cameras
Reputable wireless security cameras come with mounting templates. These are stickers that have the drill placements illustrated clearly, so you know exactly how far apart to space them. We strongly advise using these to aid with mounting so that you can avoid unnecessary mistakes when drilling into walls or ceilings.
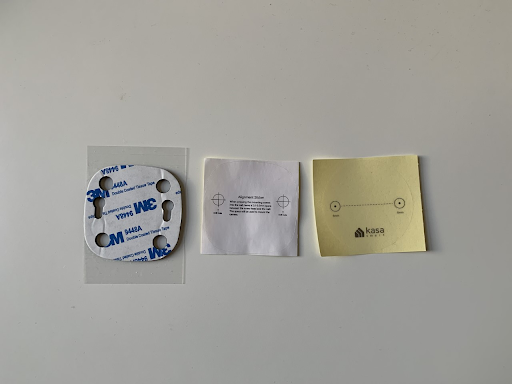
When it comes to home security camera installation, we’d also recommend you use a spirit level to check the holes are perfectly aligned and straight, but don’t go out and buy one if you don’t have one at home—you can download one on your Android or iOS device for free.
Be aware that walls are rarely completely flat in older buildings, so don’t expect perfection. Once you’ve marked holes using the aids provided, consider using a wall scanner to check that the area is safe to drill in. Scanners to prioritize are stud finders, pipe finders, and cable detectors.
It might seem like a nuisance if you don’t have one on hand, but nobody wants any structural damage to occur when drilling!
Step 6: Install the mount and attach the camera
Once you’re confident that the area is appropriate, start drilling the marked holes to the length of the plastic wall plugs. These will usually be provided with the wireless security camera, but if they aren’t, we’d recommend buying them to protect the integrity of the wall.

Insert the plugs by tapping them lightly with a hammer. Then hold the camera in place and insert the screws; do it lightly at first.

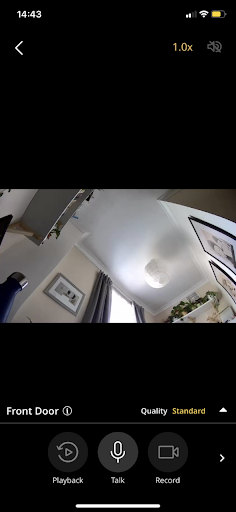
Step 7: Adjust your home security camera for a perfect view
Head to the camera’s app and open up the livestream to check the viewing angle. Play around with different angles by moving the head of the camera slightly until you find what works best. You may also want to shift the camera body itself to ensure it is straight.
If the camera has a motorized head, move it via the app rather than with your hand, as this could damage the device.

Step 8: Tighten your wireless camera
When you’re happy with the angle and position of your security camera installation, tighten the screws. Head back into the app, where you can begin to make automations and other adjustments in the settings so that the camera is best suited for your needs.
If the wireless camera supports Alexa, Google Voice Assistant, or other voice assistants, you’ll usually be able to enable this here. It won’t be immediately obvious what settings you require until you’ve used the camera for some time, so be open to changing settings as you get to grips with the device over time.
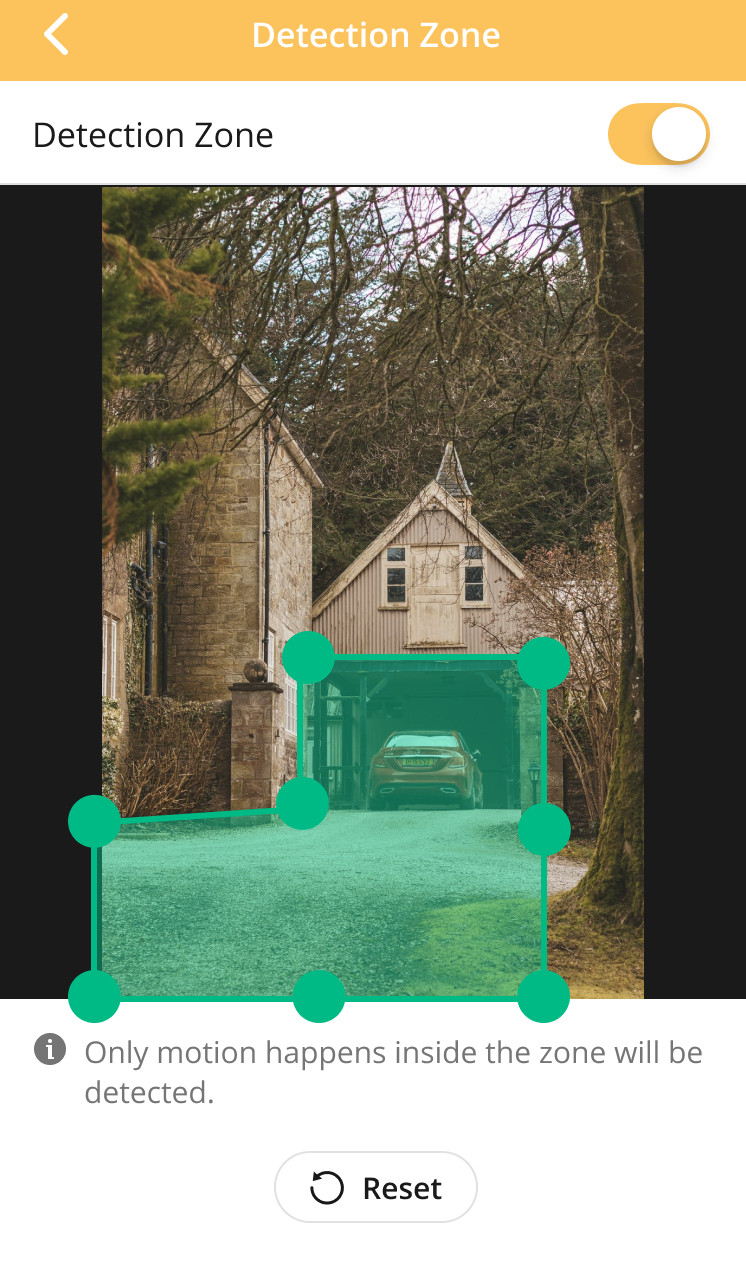
Settings that will likely need to be adjusted include motion detection sensitivity and image quality. The former will be determined by the extent of traffic the camera observes, while the latter will depend on the strength of your internet connection.
FAQ
Is it easy to install wireless security cameras?
Installing wireless security cameras is a simple process that involves pairing the device to an app, picking a location, and using mounting aids to find a failsafe space for the camera to be positioned in. Some cameras have magnetic plates in the base, so won’t require drilling if there’s a metal surface for it to cling to.
How do you install outdoor wireless security cameras at home?
Installing outdoor wireless security cameras is very similar to installing one indoors. Check out our article on outdoor camera installation if you want to install your device outside.
How do you power a wireless security camera?
Wireless security cameras are usually powered by a USB cable. Some may also use replaceable or rechargeable batteries, which, in turn, can sometimes be powered by a solar panel.
How do I connect my wireless camera to Wi-Fi?
During initial setup, the camera’s app will prompt you to connect the camera to a Wi-Fi hub.
Conclusion
Install a security camera doesn’t have to be a nightmarish pursuit. In fact, they’re pretty easy to install, and reputable brands will have clear and concise instructions on the camera’s app. Taking some time to choose the optimum space for mounting is important, because if mounting involves damaging walls, it’s really something you want to get right the first try.
If you can, use tools like wall scanners and spirit levels to make the mounting as seamless as possible. While it won’t be feasible for everyone, proceed with caution—and don’t blame us if a pipe bursts in your face!
Recommended reading:
How Far Away Can a Wireless Security Camera Work? | Improving IP Camera Range
How Often Do You Have to Charge Wireless Security Cameras?
Why Do My Wireless Cameras Keep Disconnecting? | 5 Quick Fixes
DIY Vs Professional Security Camera Installation Explained
Do I Need a Router for Security Cameras?