

Outdoor security cameras need protection from rain, moisture, and water damage to maintain clear footage and extend their lifespan. Whether you’re looking to buy a waterproof camera cover or build a DIY cover from scratch, this guide covers everything you need to know about protecting your surveillance equipment from water exposure. Protecting cameras from moisture is as vital as knowing how to operate them.
Learn how to make a waterproof camera cover for outdoor security cameras. Including a DIY birdhouse tutorial, common waterproofing mistakes to avoid, and more.
Table of Contents
5 ways to protect your outdoor cameras from water
Waterproofing your camera isn’t as complicated as it sounds. Homeowners have several options to protect devices against the elements. Here, we’ll explore five ways to do it:
1. Pick a waterproof camera with proper IP ratings
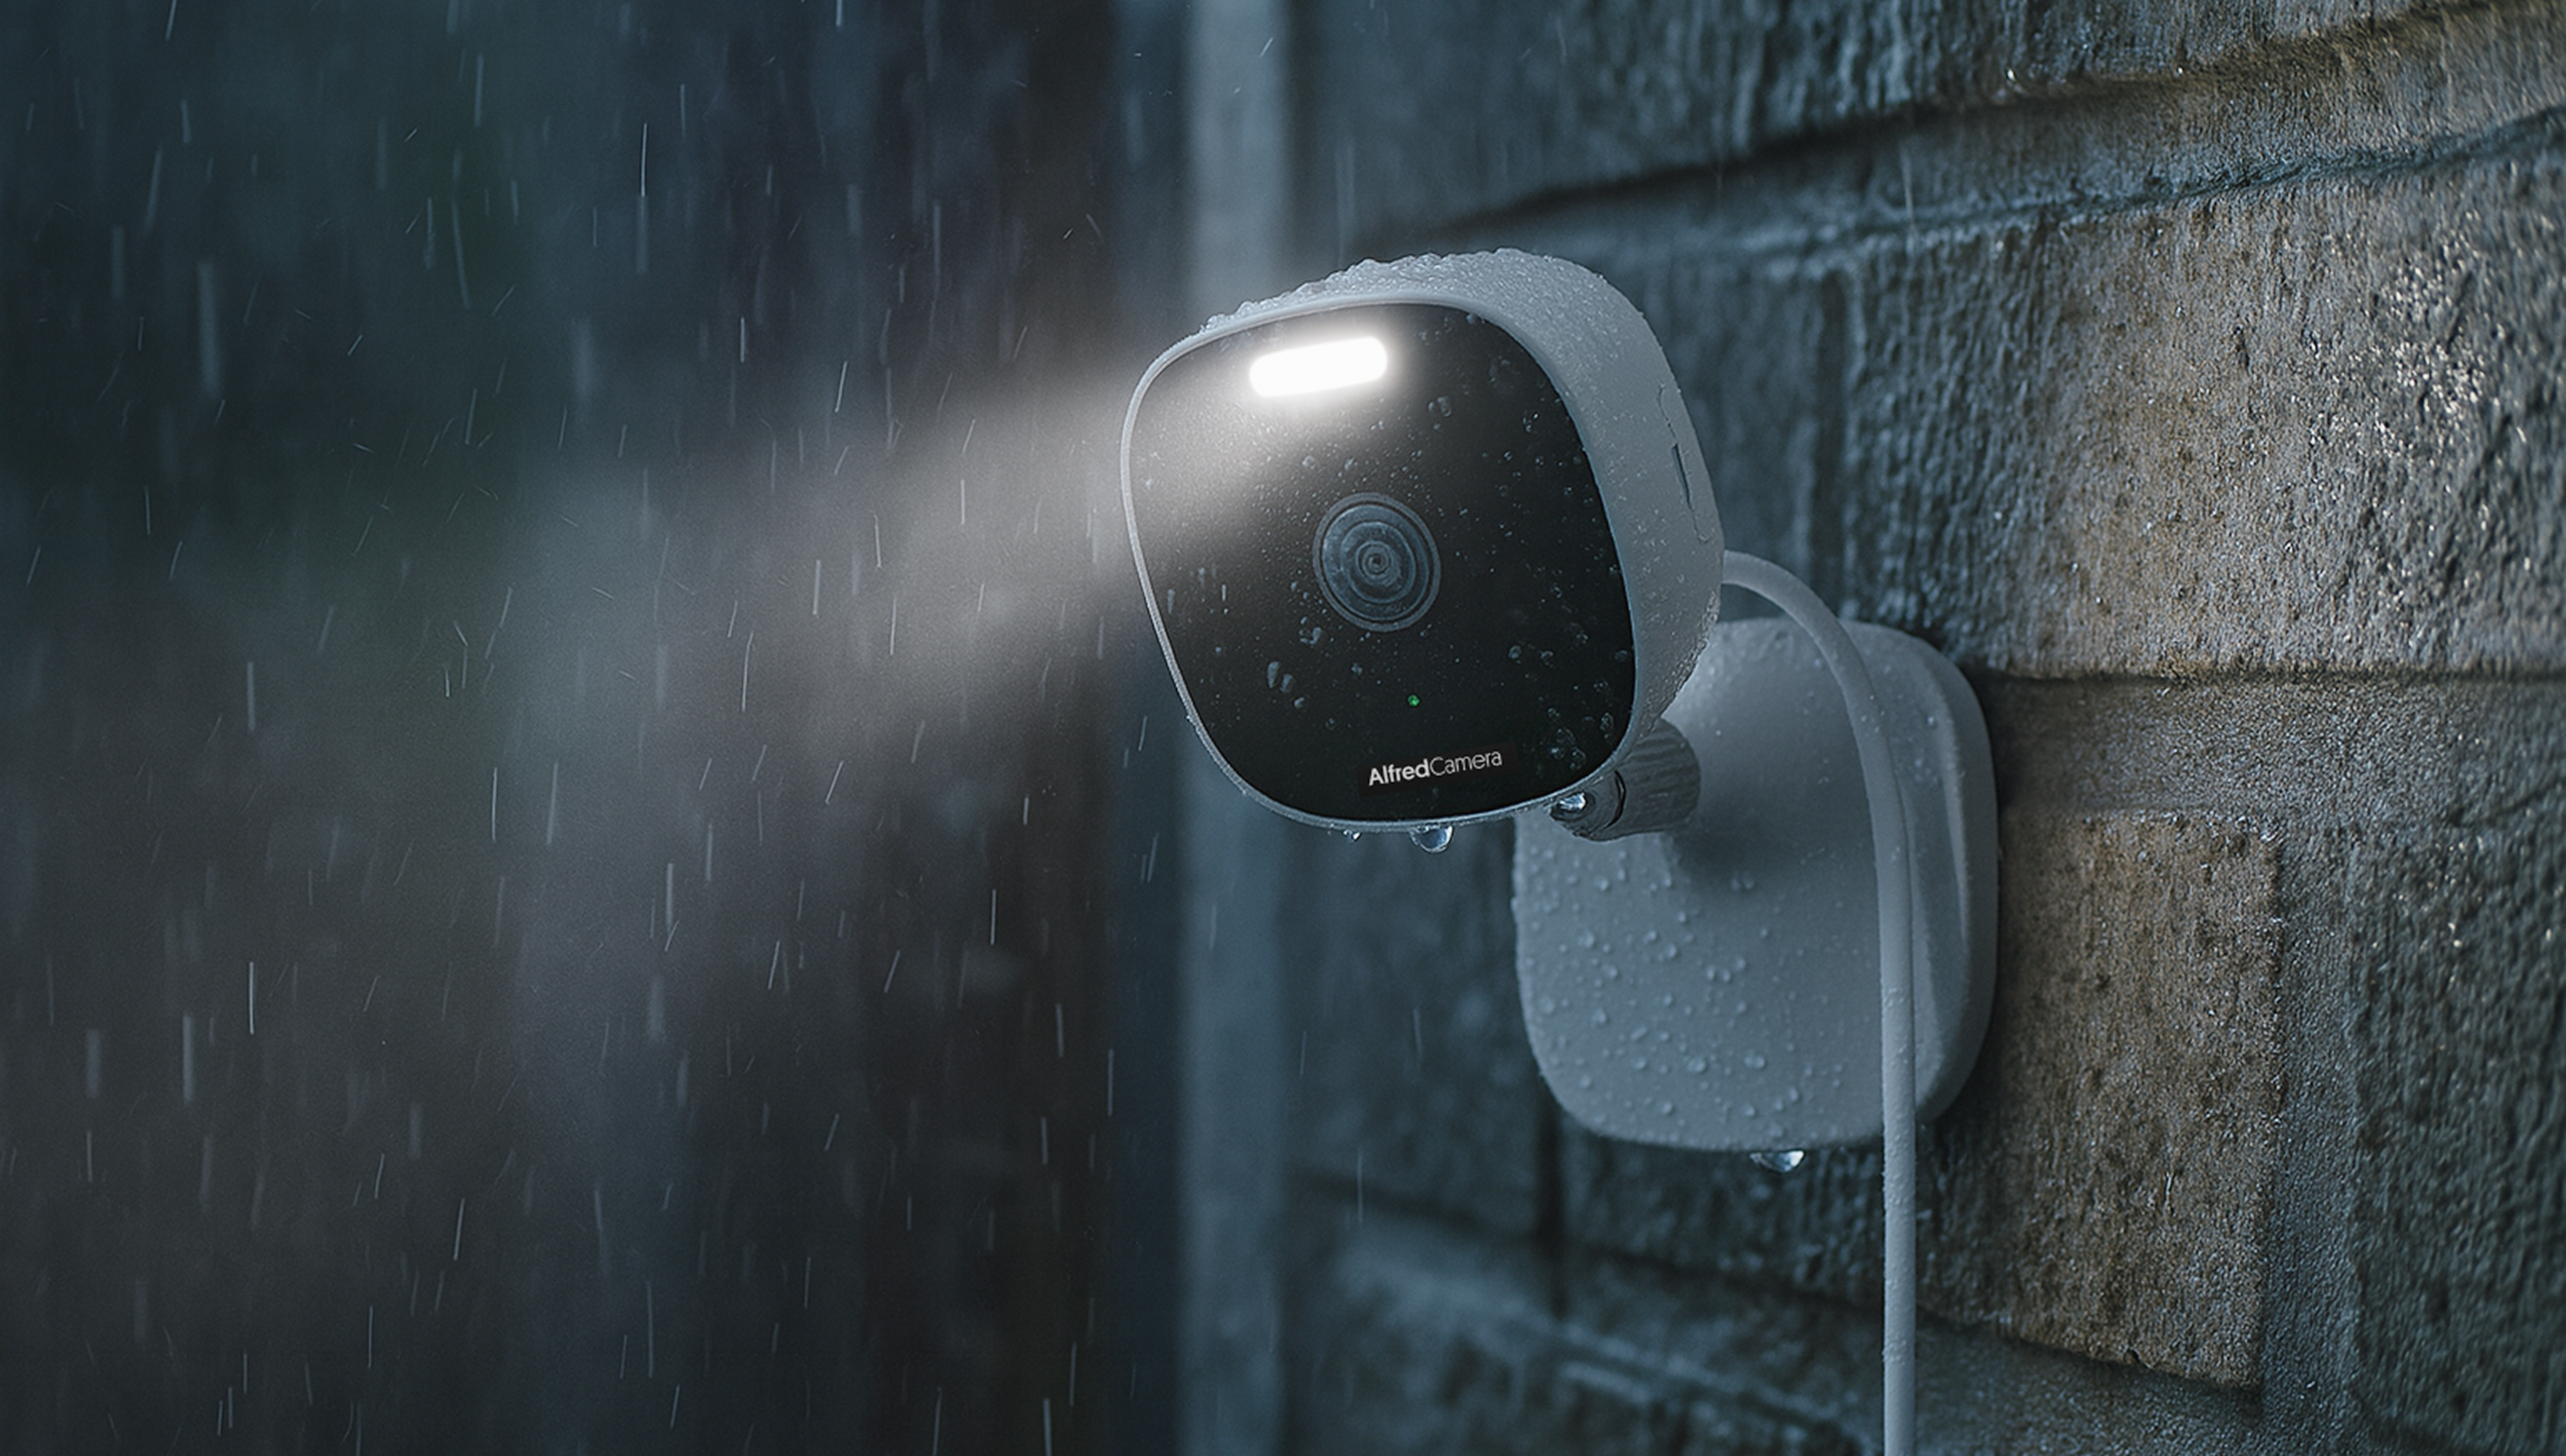
This might sound obvious but if you’re purchasing a new camera, select models with a minimum IP65 rating for basic rain protection, or IP67 rating for true waterproof capability. This way you will be saving yourself the trouble and worry of your camera vraking down beacuse of the rain. The AlfredCam Plus 2, for example, is an IP65-rated camera, meaning it is dust proof and tested against direct high-pressure water jets. While it can’t be submerged in water, an IP65 rated product functions just fine in rain.
2. Install cameras in protected locations
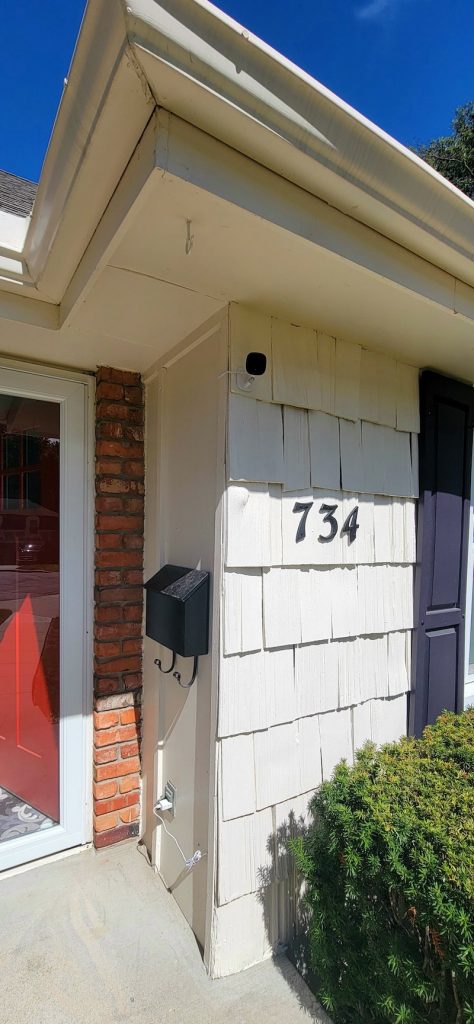
Strategic placement can reduce direct water exposure. Mount cameras 8-10 feet high under roof eaves, covered porch areas or any architectural features that provide natural shelter. The shade it provides is also useful in protecting the lens from extreme light and extreme heat. This positioning protects from rain while maintaining optimal viewing angles for monitoring entry points.
3. Use commercial any waterproof camera cover
If there’s no suitable overhang to make use of, a protective cover is a handy way to get the same effect. Rain-protective camera covers come in different types, prices depend on size and material quality but they range from $10-$40.
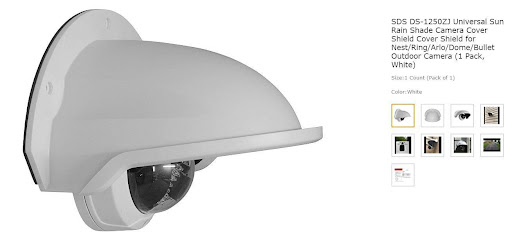
- Check out the Universal Sun Rain Shade soft silicone or ABS plastic covers that drape over cameras like raincoats. They are easy to install and remove for maintenance.
- Aluminum or stainless steel protective roofs that mount above cameras. Provide both rain and UV protection while maintaining professional appearance.
Some camera manufacturers offer accessories for their products, including camera covers. You might want to check if the manufacturer could recommend suitable weather protection.
4. Emergency plastic bag rain cover
This is a short-term solution only. Plastic bags tear easily and don’t provide reliable long-term waterproofing, but if you find yourself in a bind, this is a quick and easy solution.
- Get a clear plastic bag (freezer bags work well)
- Mount your camera in position
- Place bag over camera and secure with tape or rubber bands
- Cut small hole at lens location and carefully widen to fit
- Ensure bag doesn’t obstruct camera view or motion sensors
5. Build a DIY waterproof birdhouse camera cover
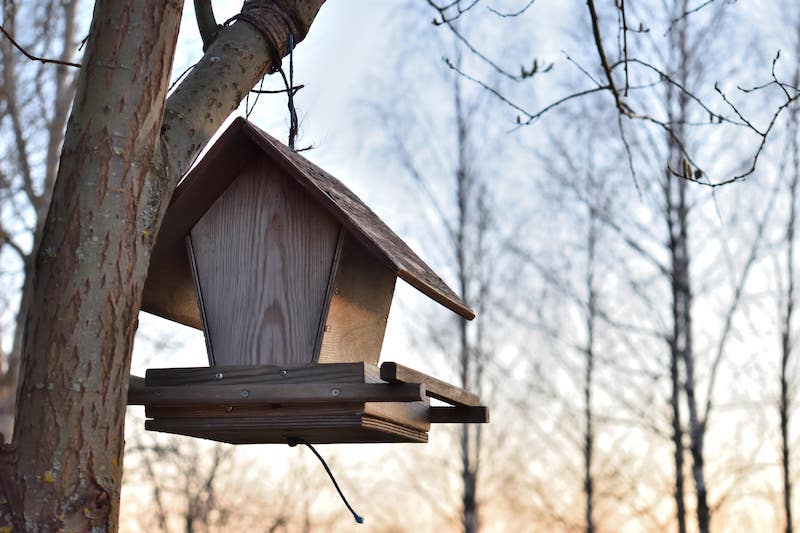
Commercially available camera covers are a great choice if you are rushing to protect your device from the elements and don’t mind the price. But it’s also possible to flex your creative muscles and DIY a camera cover. This camouflaged camera provides excellent water protection while blending with your outdoor environment. Head to the section below to find out how.
A Step-by-Step Guide to DYI Waterproof Birdhouse Security Camera Cover
Buying a security camera cover right off the shelf is easy enough, but where’s the fun in that? Building your own offers a fun activity, not to mention natural camouflage and a superior rain protection. Here’s an easy guide to building your own DIY birdhouse for security cameras that allows your devices to blend in seamlessly with the natural landscape.
Materials needed:
- Security Camera
- Wood boards poplar (naturally water-resistant)
- PVC sheet or acrylic panel (for waterproof front panel)
- 2×2 wood post or tree branch for mounting
- Tape measure and pencil
- Circular saw or hand saw
- Wood glue (waterproof formula)
- Finishing nails or outdoor screws
- Marine-grade sealant or spar urethane
- Exterior paint (optional for camouflage)
- Silicone caulk for sealing gaps
Step 1: Measure camera dimensions
Check your camera specifications for exact measurements. Consider width, height, depth but dont forget sensor locations or cable routing requirements. Add 1-2 inches clearance to each dimension for comfortable housing space.
Making your DIY birdcage out of wood is easier, and looks most natural in the yard. However, not all wood is necessarily waterproof, you can choose poplar or simply use a PVC or acrylic panel if you want complete water resistance.
Use a 2×2 wood for the birdhouse post. Alternatively, cut a tree branch and use it to prop the DIY birdhouse for a more natural look.
Step 2: Design the birdhouse blueprint
Check the security camera’s user guide or online details to make a note of the camera’s dimensions, you can create paper templates.
Critical design features to consider: Roof must extend 3-4 inches beyond front wall to shield lens from rain, cut all wood edges at 45-degree angles for tight mitered joints, plan drainage holes in the bottom for any moisture that enters, and design a removable roof for easy camera access and maintenance.
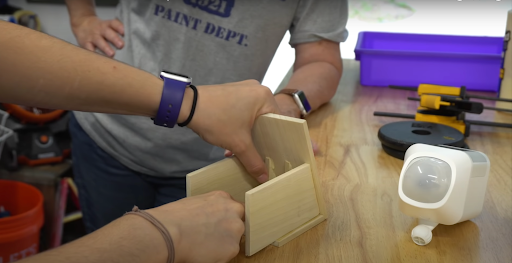
Step 3: Prepare the birdhouse components
Use the paper template/draft to cut the poplar board into the correct sizes for the birdhouse’s walls and roof. Use the poplar boards for walls, roof, and base, and PVC/acrylic sheet for the front panel (where the lens will protrude).
Step 4: Assemble the waterproof structure
Apply wood glue on the sides of the birdhouse walls, gluing one side of the birdhouse’s right wall to the back wall’s miter section, and do the same for the others. Clamp these components to help the glue create a permanent bond (30-60 minutes). Drive a few nails into the wood to assist in securing the pieces.
Once the walls are assembled and dry, apply silicone caulk to all interior seams on the birdhouse to protect it against water and UV damage. It doubles as a self-leveling and heavy-duty sealer, ensuring the birdhouse can last many years.
Step 5: Create a waterproof coating for your camera cover
Apply 2-3 coats of marine-grade spar urethane to all exterior surfaces, and allow 24 hours drying time between coats. Pay special attention to the roof, which receives the most water exposure.
Step 6: Install the mounting post
Determine the location of the birdhouse, and dig a hole (18-24 inches deep) and wide enough to accommodate the 2×2 post. Place the birdhouse post into the opening and fill it with soil or concrete mix for maximum stability. Allow 48 hours to cure before attaching birdhouse
Alternatively, paint the post to blend in. You don’t necessarily want it to stand out unless you’re using the security camera as a deterrent.

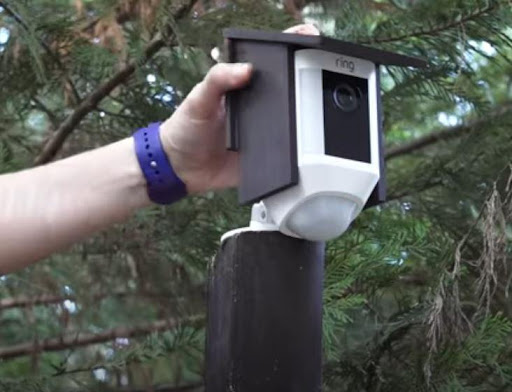
Step 7: Install the outdoor security camera
Get the security camera’s mounting plate and secure it to the inside of the birdhouse. Seal cable entry points with silicone caulk to prevent water ingress. With the camera inside the birdhouse, open the app on your smartphone. Check that the viewing angle meets expectations. If necessary, adjust the device’s orientation and tilt to get an optimal view of the area.
If you’re unsure about how to set your camera up, check out our article on installing outdoor cameras.
Step 8: Test your waterproof camera cover
Slide the roof of the birdhouse over the security camera. Check the security camera for functionality again, ensuring the birdhouse roof doesn’t obscure the view. Trim the awning if it blocks the video’s upper section.
Test waterproofing by pouring water over the birdhouse to verify there are no leaks. Paint exterior with waterproof outdoor paint if desired.
Common waterproofing mistakes to avoid
When waterproofing outdoor security cameras, several errors can undermine your efforts and lead to water damage. One of the most common mistakes is using indoor cameras in outdoor settings, as these devices are simply not designed to handle any moisture exposure, regardless of how well you try to protect them.
Beyond the camera itself, cable waterproofing is often overlooked despite being the most vulnerable point of failure. Most water damage actually occurs at connection points rather than the camera itself. When building DIY enclosures, forgetting to include drainage holes is another frequent problem that traps moisture inside and causes long-term corrosion damage. Taking the time to avoid these common pitfalls will significantly extend your camera’s lifespan and ensure reliable performance through all weather conditions.
Conclusion
Making a waterproof camera cover only requires imagination, creativity, and a little elbow grease, though there’s plenty of great cover options available online if DIY doesn’t float your boat. However, waterproofing requires implementing proper installation techniques and maintaining protective measures over time.
Whether you choose an IP67 camera for complete water protection, install commercial rain covers, or build a custom DIY birdhouse enclosure, the key is creating multiple layers of defense against water damage. Waterproof camera covers are useful in ensuring optimal security camera footage, shielding the device from rain and excessive direct sunlight. Your outdoor surveillance system will provide reliable security monitoring through rain, storms, and humid conditions for years to come!
Recommended reading:
Does Cold Weather Affect Security Cameras? Winter Protection Guide 2025
My Doorbell Camera Keeps Freezing – 6 Ways to Fix Fog & Frost Issues